Cape Fear Press Etching Studio
Products
Puretch InfoJennifer PageJennifer Page - Owner
Photogravure PapersPhotogravurePhotogravure PlatesCape Fear Press

PURETCH DRY LAMINATION METHOD by Cape Fear Press, Published August 30, 2016©
Dry lamination is only recommended for lower resolution line, text and graphic work. Wet lamination yields much higher resolution and dot reproduction fidelity so we still recommend this for halftones. Always use yellow lighting or dim incandescent lighting during the lamination process. Dry lamination of Puretch enables you to expose much quicker than with wet laminaton.

P1080918smP1080919sm

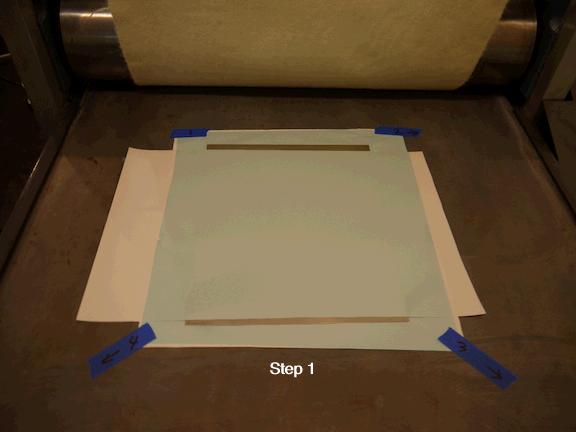
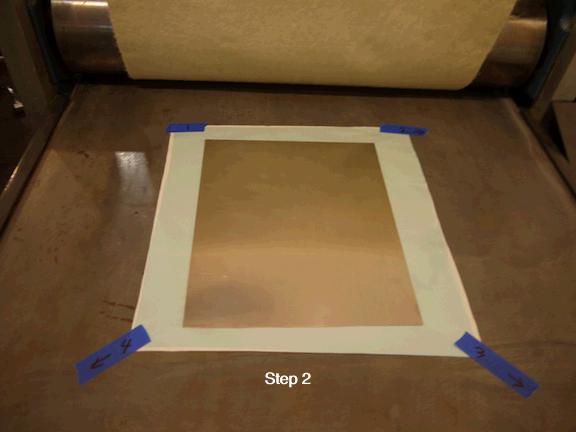
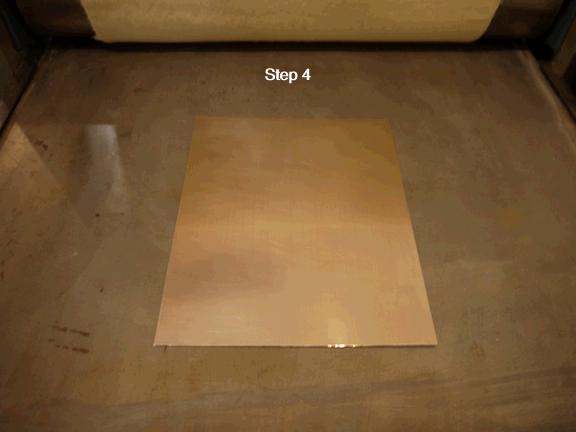
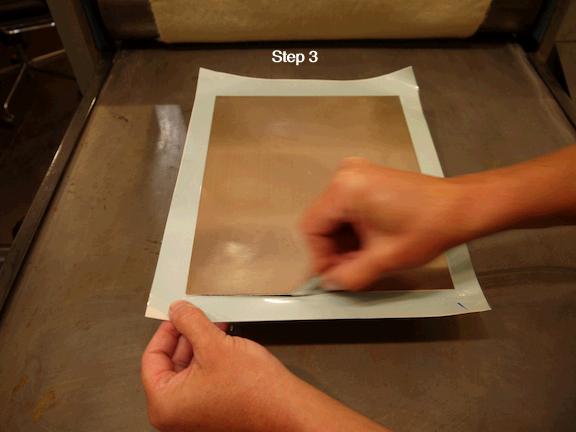
Step 1 Cut a piece of newsprint the same size as Puretch and place it under the plate on the press bed. Next, cut a clean newsprint, glassine or vellum interleaving sheet the same length of the plate to prevent premature adhesion of the film to the copper. I cut it a bit narrower so you can see the layers. Remove inner mylar from Puretch and place it on top. Tape corners to press bed as shown to pull the Puretch film taut and flat.

Step 3 Remove the tape from the corners of the film by pulling the tape away from the film surface, not from the press bed. Move the laminated plate to a platform that is slightly smaller than the plate. Slice the film along the plate edges with a sharp blade, angling the blade with any bevels.

Step 2 Remove interleaving sheet. Make sure plate is beveled if it is a heavy gauge. Place a couple sheets of newsprint or other smooth paper over the film. Run through press twice with slightly less pressure than what you use for printing.

Step 4
Heat set the film on hotplate at 150ºF for about 5 minutes. Use a cover of aluminum foil to prevent fogging the film if safe lighting is not available. A hair dryer can be used for heating small plates. The plate is ready for exposing once it has cooled.

P1080922sm
P1080924sm
Puretch InfoJennifer PageJennifer Page - OwnerPhotogravure PapersPhotogravurePhotogravure PlatesCape Fear Press